Free Tutorials, Guides & Projects

This pretty felt tree can be made in any colors to accent your decor. At five inches tall, it looks great as a small centerpiece or alongside your favorite little stuffed animal.

A French knot is a scary little embroidery stitch that, when mastered, is more fun than milk and cookies. It creates a lovely, tactile,

The leaves are falling, the crows are calling! Time to stitch some Halloween spookiness!

The whip stitch is a simple hand-sewing method that can be used to sew two pieces of felt together. It is popular for making softies because . . .
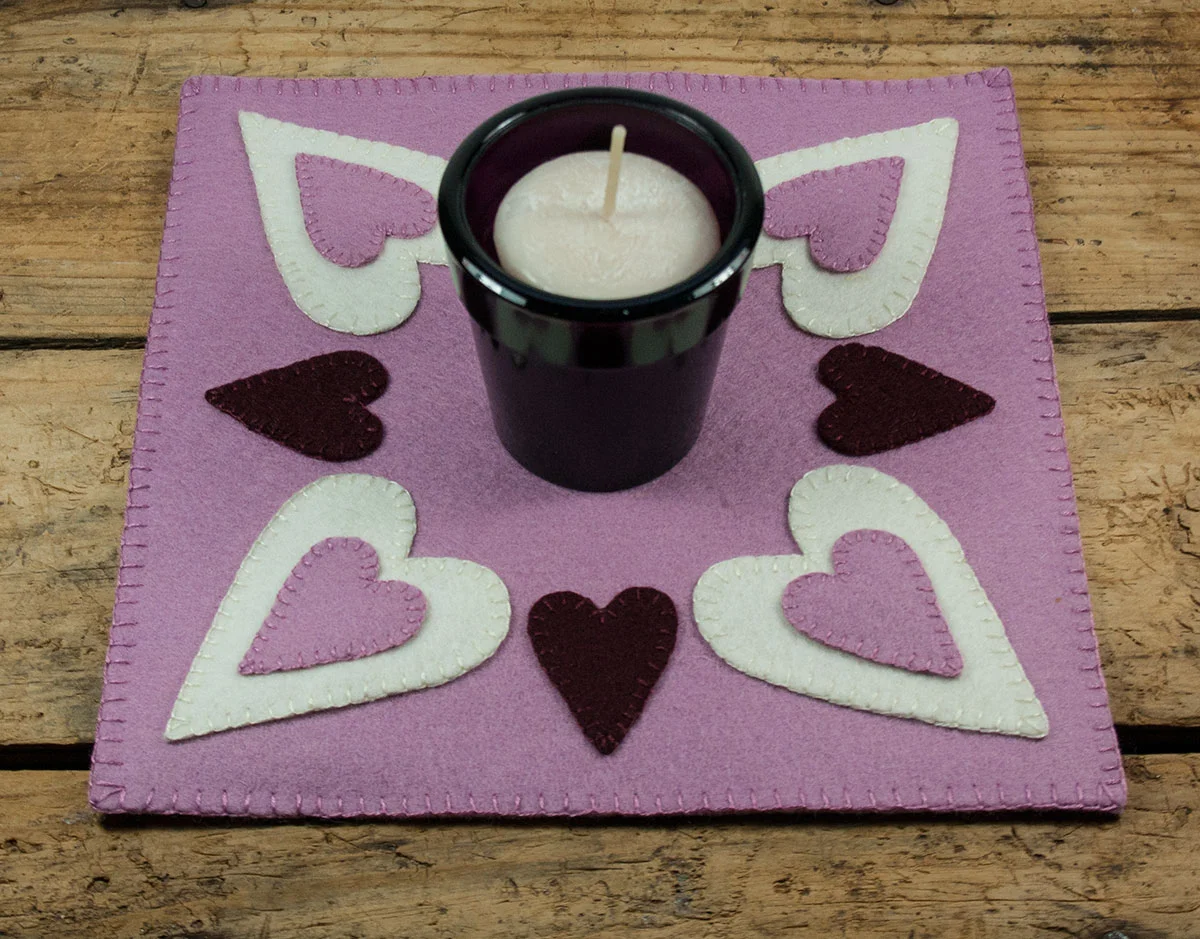
The cozy days of winter are here - hot tea and new sewing projects. Hmm. Wisteria and wine! With Valentine's Day around the corner, I put together this tutorial to make a simple wool felt centerpiece with appliqued hearts.
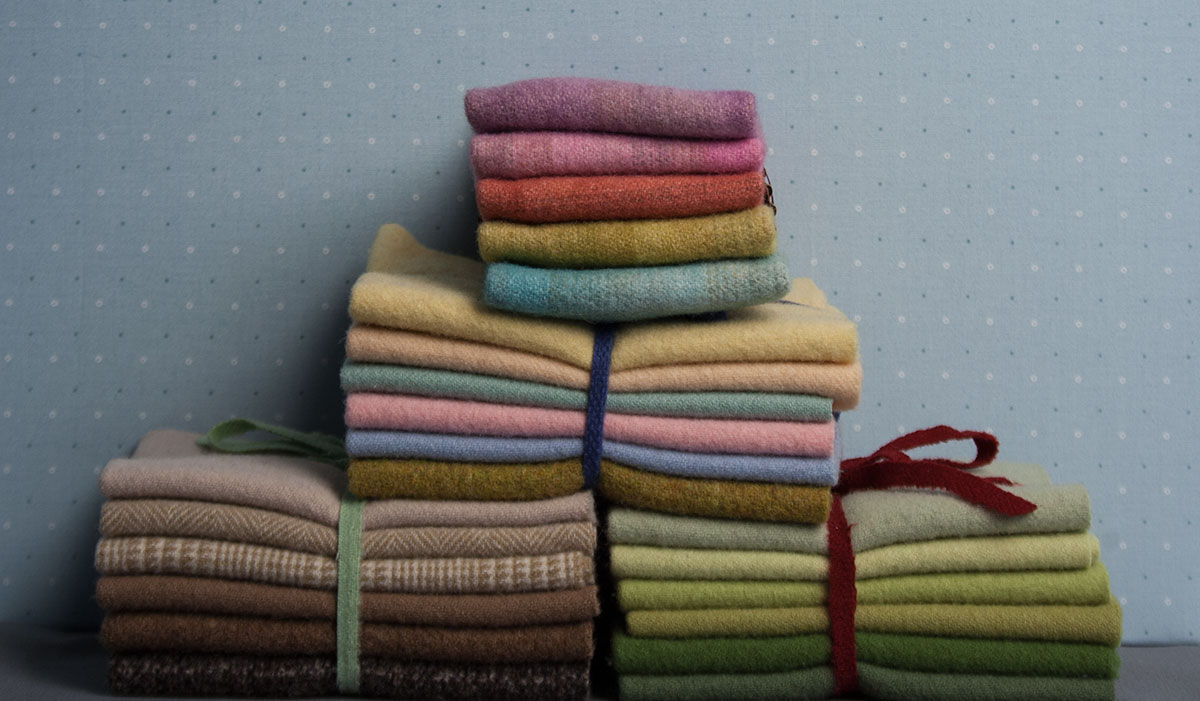
The DIY movement brought about a desire to up-cycle used clothing for our creative sewing projects. Notably, we all began to scour thrift shops and rummage sales for wool leftovers to toss into our washers and dryers and turn into felt, myself included.
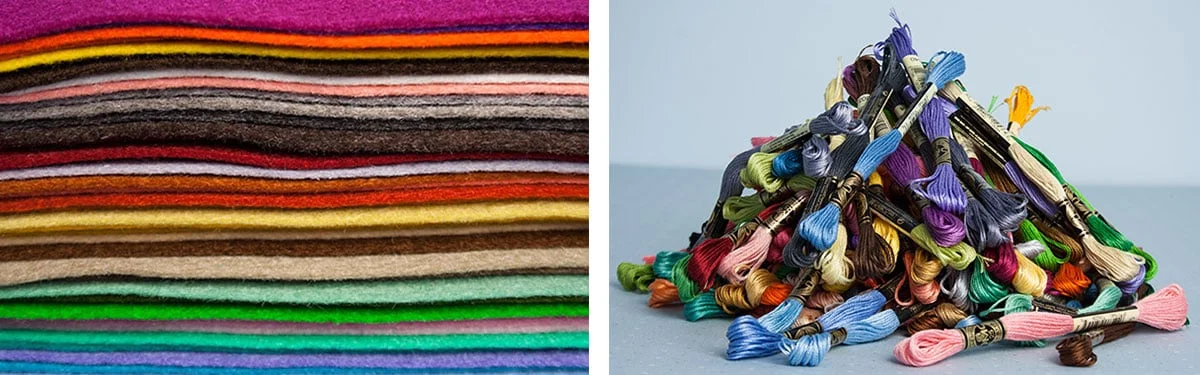
If you're like most, the new year represents a fresh start and a great time to get your sewing space organized. We all know how challenging that can be :)
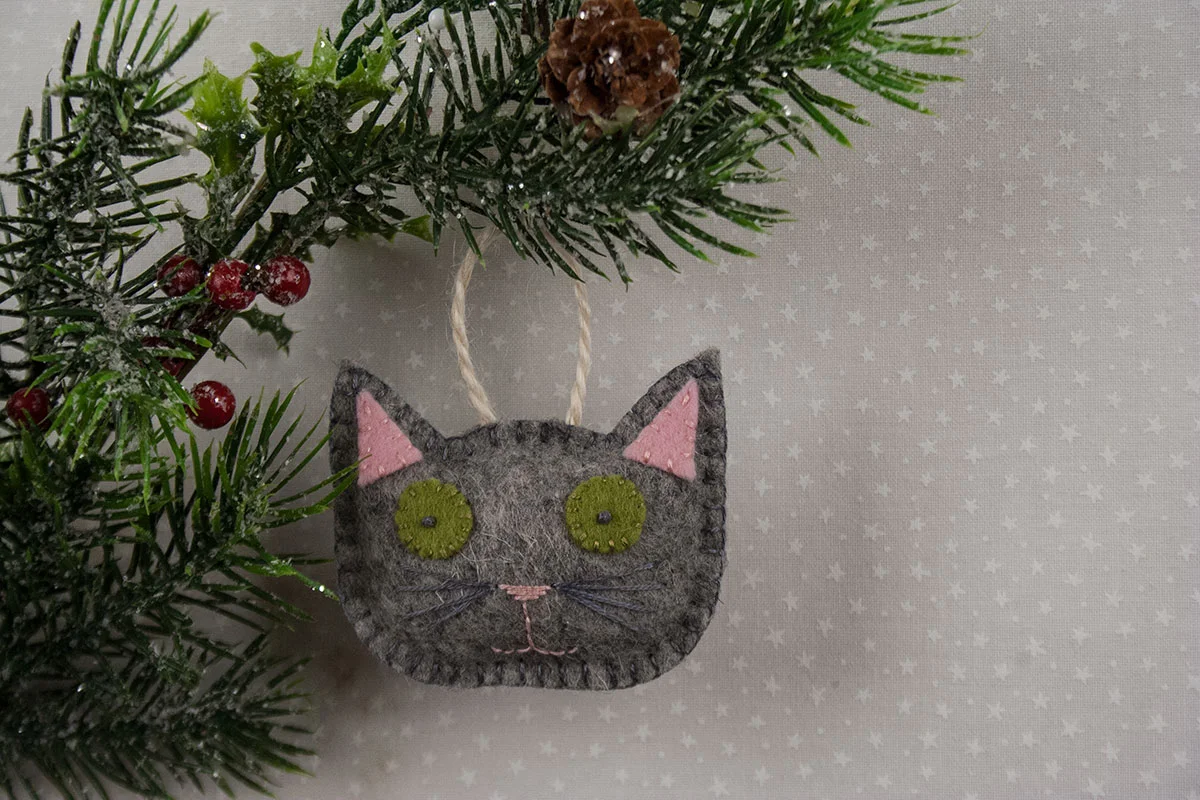
It's coming on that time of year when baking cookies, festive decorating and sewing hand-made gifts are at the forefront of my thoughts. This primitive cat tutorial is my hand-made gift to you!
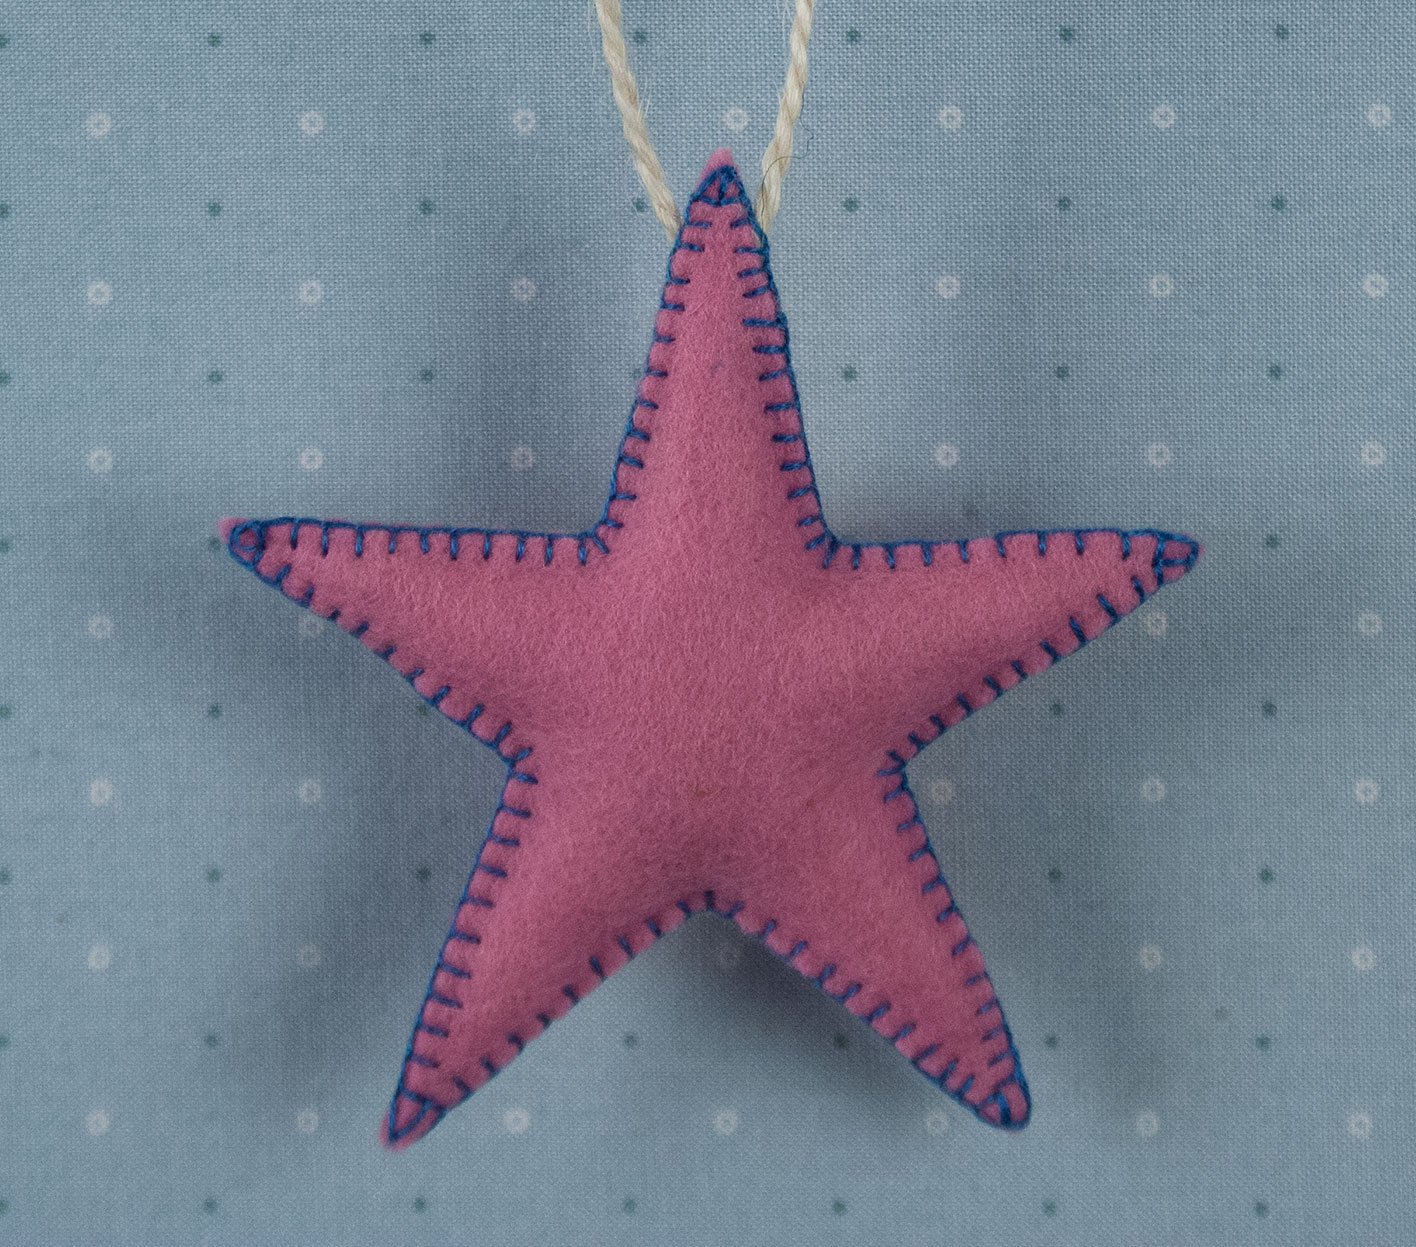
I love felt stars, especially pointy ones, and I love sewing wool felt with the blanket stitch. I must admit; however, stitching points is not my favorite part of creating a holiday ornament.
The more I make, though, the better I get :)

I put together this DIY home dec project for you to make. It is suitable for all skill levels and perfect for the beginner just learning to work with wool felt appliqué.
Wool felt is one of my favorite textiles to sew with. During my recent sew-cation, I put together a simple guide and series of beginner lessons about sewing and appliquéing with wool felt using the blanket stitch. Here is an outline of what you'll find:
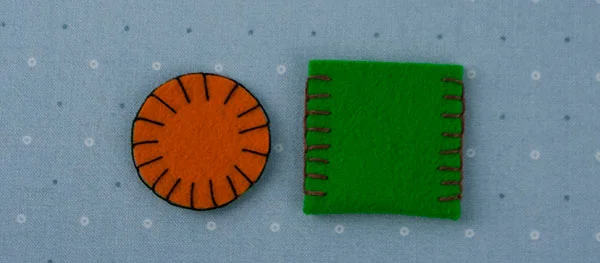
In this lesson you will learn:
How to sew two pieces of felt together using the blanket stitch. We will cover two different scenarios:
- Option A - Going All The Way Around
- Option B - Stitch Just One Edge
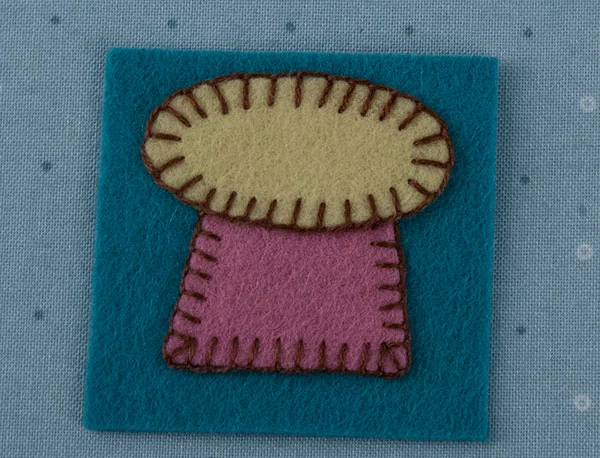
In this lesson you will learn:
How to start and end your stitching when you don't need to go all the way around. One shape of felt is going to overlay the other on your background.
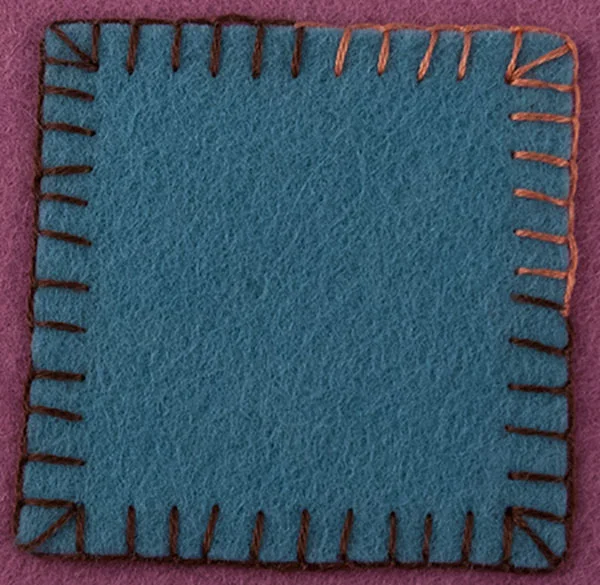
In this lesson, you will learn:
How to go around a corner when appliquéing wool felt using the blanket stitch. I will also show you what to do if you run out of thread before you are finished or if you want to change colors.
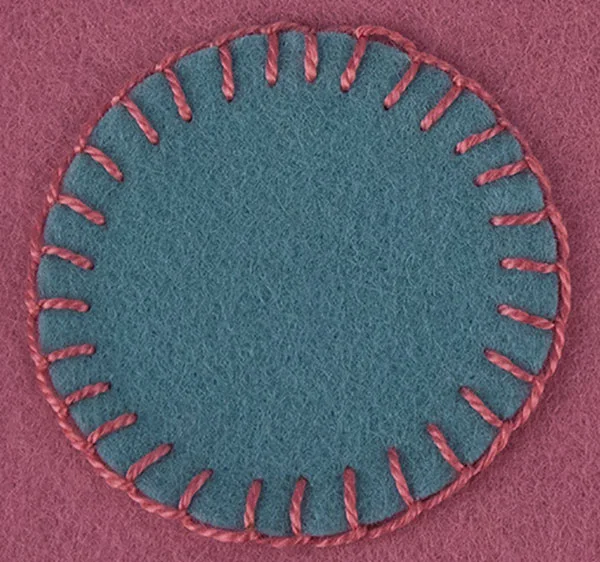
In this lesson you will learn:
How to appliqué a curved shape to your background, from beginning to end, using the blanket stitch. I am using a circle and am going to stitch all the way around.
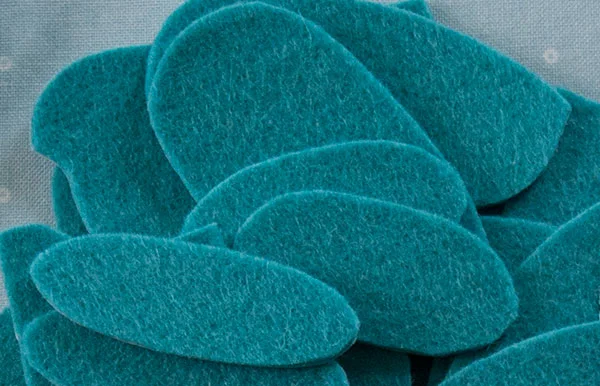
Wool felt is a dreamy textile to sew with but it can be a challenge to cut smooth edges and identical shapes from it. Paper, on the other hand, is very easy to cut into pattern shapes, including smooth curves and sharp angles.
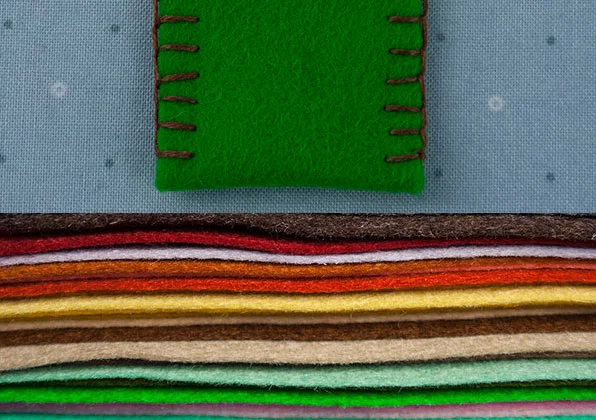
We LOVE sewing with wool felt here at Oliver Rabbit. Our new lesson series is designed to teach the beginner, or remind the pro, how to appliqué and sew wool felt together using the blanket stitch.


You have two layers of felt - a front and back - with a shape of some sort that will be tucked inside and extend beyond the edges when the two main pieces are sewn together with the blanket stitch.