
Time-Saving Organization Tips for Wool Felt Sewing Projects
/
Happy New Year!
If you're like most, the new year represents a fresh start and a great time to get your sewing space organized. We all know how challenging that can be :)
One of my primary goals for 2016 is to take my sewing pattern business to the next level. Effective time management and organization will play a major role in this process. Not only do I need to stay on top of media calendars, blog post schedules and newsletter roundups, but also the creative process itself.
Whether your sewing projects are a hobby or part of your business as mine are, maintaining an efficient workflow is key for success and your own enjoyment. Our materials, tools and the time we spend creating a gift or product sample are valuable investments; we want to make the most of them.
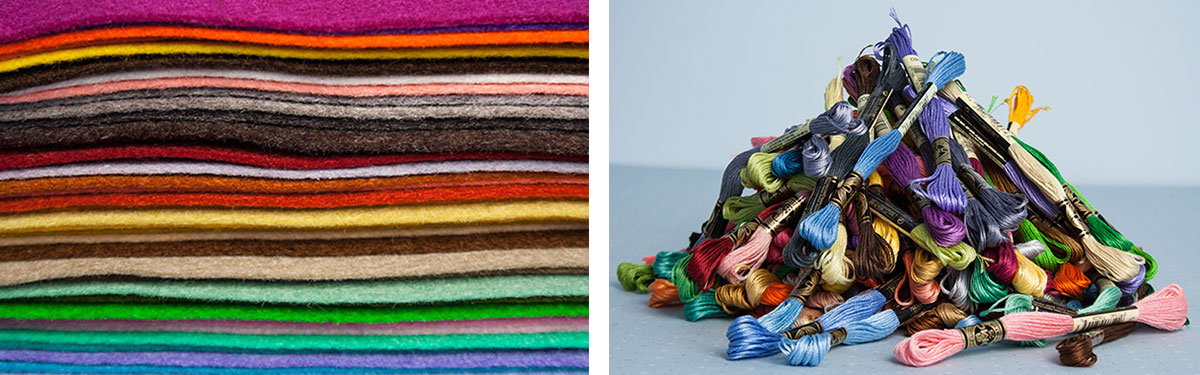
I design and produce sewing patterns, primarily for wool felt projects and I sew by hand almost exclusively with embroidery floss. Over time and with practice, I have developed tools and systems that help me stay organized, efficient and effective. Here are some of my favorites:
1) Get a Swatch Card for your Felt
Most suppliers of felt offer swatch cards with a sample of each color available. No more guessing! A swatch card allows you to see the true colors and feel the felt texture before ordering. It is also handy for custom projects, keeping track of inventory and best of all, coordinating floss colors as noted in Tip # 3.

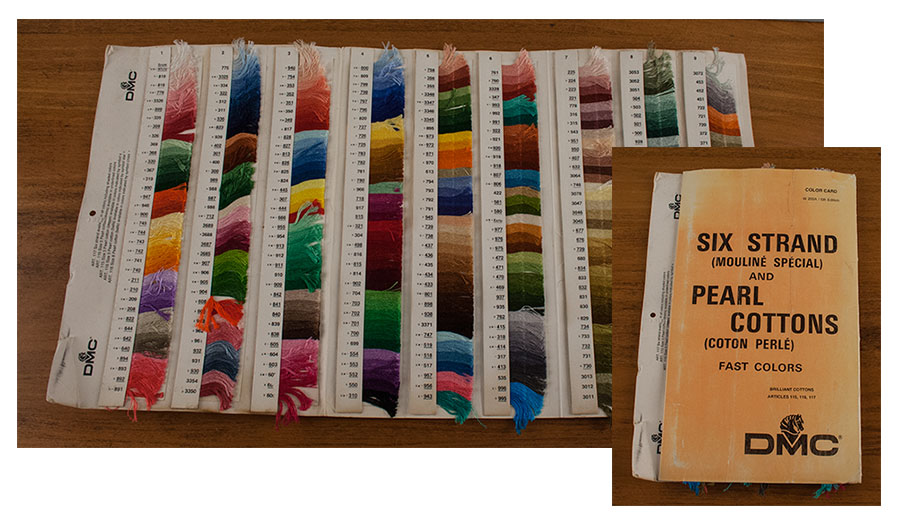
2) Make a Color Card for your Floss
I often use my DMC Color Card to select floss for a project. Unfortunately DMC no longer makes their color cards with real samples; they haven't for years. You can download their current color card or purchase a hard copy but it is only a printed swatch of each color, not the actual floss. My card is ancient, has real samples and I'm glad I have it.
So . . . DIY!
Take a piece of cardstock or paper and create your own! It doesn't have to be fancy. Cut a few strands of your floss (enough to see the accurate color) and tape it to the card. Write the corresponding number next to the sample. Group them by color family rather than number.
Depending on how you organize your floss (more on that below), you may or may not have skeins with missing number bands like I do. Those little bands slip off so easily :) I save every strand long enough to work with and frequently find them scattered on my sewing table. Without my card (and storage system), I wouldn't know which color they were. While popular to wrap floss around little cards you write the number on, I don't use this method of storage. More on this in Tip # 6.
3) Record Matching Floss Colors – my favorite tip!
I spend a lot of time selecting color for a project, both for the felt and the floss. Most often I want the closest match I can get. For years I would revisit this process with each new project, rummaging through my bucket of floss looking for the right color to go with my felt. Then a few years ago I found my old DMC color chart (from the 80s), see Tip # 2, and began recording the colors I selected on my swatch card!!! Duh. What a time saver!
Even better, I recently spent an entire morning with my felt swatch cards matching all 67 of them to the perfect floss color. I now have a starting point and can decide if I want to go a shade darker or lighter within the same color family without rummaging through anything!
If you don't have a swatch card, you can also make your own. I made one and used it for a while because I didn't want to write all over the fancy one I paid $9 for :) I simply taped scraps of felt onto a piece of paper and wrote the corresponding floss color number next to it.

4) Project Specification Cards
I make a lot of product samples and items for sale, often in different colorways. I usually have a good photo of each item but I've learned that having the color specs written down is very helpful. For a long time I kept a notebook with this information but found myself frustrated trying to find the right page. Now I keep alphabetized “spec sheet” index cards in a recipe box for everything I make. I simply pull the card and see exactly what color felt and floss I used. These are also helpful for taking inventory before placing an order. For example, if I'm going to be assembling kits or making four polar bears for a craft fair, I can easily make sure I have the green floss I need for the saddle on hand by referencing the spec card.
5) Keep an On-Going “I need this” List
Keep a shopping list handy in the same place at all times! Write down what you run out of right away. If it's a color of felt, cut a scrap and tape it to the list. If it's floss and you checked your storage and that was the last skein, write the number down. Enough said :)
Oh, and remember to bring it with you when you go shopping!
6) Organize your Floss (and keep it that way :)))))
I have a lot of floss! I keep it in clear zip bags organized individually by color. The bags are then clipped together by color family. These groups of bags are kept handy in an open Sterlite bucket. I don't like using little floss cards because they make crinkle folds every inch-and-a-half. My storage method keeps my floss clean, easy to find and does not require wrapping unused lengths of thread around a little card - I simply toss them in their bag for future use. I can also keep several skeins of the same color in one bag. Each bag is labeled with the floss number AND the felt color it matches (a handy cross reference to your swatch card).

When working on a project and I need specific floss colors, I grab those individually-numbered bags from their respective color groups and keep them together with a clothespin for the duration of the project. When I’m finished, those individual bags go back with their color “family” in the tub where I can quickly find them again.

7) Organize your Felt by Colorway
I store my felt flat in clear Sterlite tubs with as few folds as possible and organized by colorway. All the greens and blues in one, reds and blacks and purples in another, and so forth. ***If you have only one tub (or drawer or shelf), separate the lights from darks with a large plastic bag or something similar between them; the soft white will pick up the red! Storing your felt in a sealed clear container keeps it clean and safe yet visible for inspiration.
8) Felt Scraps - Save Them!
I save all of my felt scraps no matter how small. Sometimes I peel the Freezer Paper off and sometimes I wait until I need to use the felt - maybe I will use the Freezer Paper with it! I toss little bits into a basket on my table as I work and then dump them into a plastic tub when my basket starts to overflow. When I need a small piece of something, I go to my bucket. Every now and then I daydream about having individual little tubs for each color but then I realize I would need over 60 little tubs! I don't have space for that and it would also require an extra step of sorting. It's way more fun to pick through the bucket when I want something.

I do, however, organize by color when I'm cutting little pieces for garlands or wreath ornaments. Once cut these are kept in zip bags like my floss.

I hope you find my tips helpful. Time, the nature of your projects and your workspace itself - be it a designated area or the kitchen table between meals will all play a role in determining what is best for you. Most important is that you enjoy the magic of making something!
What tools and systems do you use to keep your creative workflow organized and efficient? I’d love to hear from you! Your ideas and participation enhance the Oliver Rabbit community.
Happy Organizing!
Annette
