
How to Blanket Stitch Across an Appendage
/
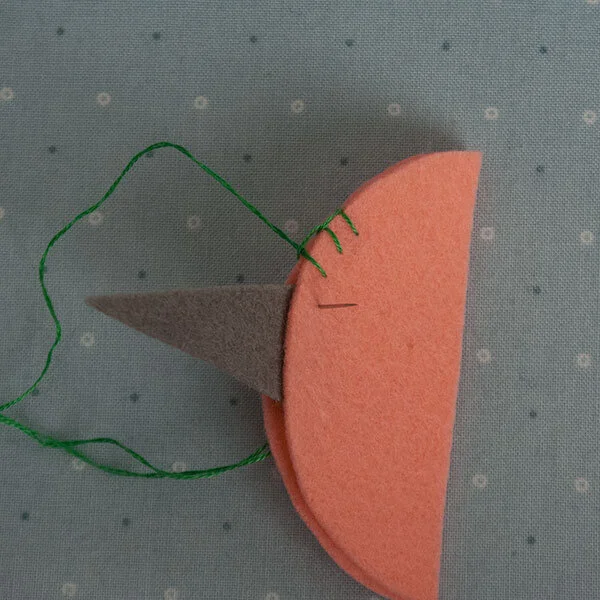
Let’s say you have two layers of felt - a front and back - with a shape of some sort* that will be tucked inside and extend beyond the edges when the two main pieces are sewn together with the blanket stitch. The monster stuffie’s tentacles in the photo above are a perfect example, but to demonstrate, I am going to sew half of an orange with a pointy gray horn sticking out :)
*It doesn’t matter what your shape is - a tentacle, pointy horn, rabbit ear - or whether it’s one layer of felt or two, embellished or edge-stitched (or not). The process for blanket stitching across it is the same.

1 - front
2 - back

3 - front
To begin, when you reach the insertion point for the appendage, stop stitching and tuck just over 1/8” of the horn (or whatever your appendage is) in between the front and back layers of felt; you want to catch it with your stitching. Realign the edges of your orange.
1) Poke for your next stitch (as if the horn isn’t there) and send your needle through all layers of felt to the back.
2) Check the back to make sure your exit is in line with your previous stitches. We are aiming for uniformity on both the front and back as we cross the horn.
3) When you’re satisfied with the position, finish your exit on the back and pull your thread almost all the way through so you leave a little loop on the front.

4 - back

5 - front

6 - front
4) On the back, right next to your half orange (but not through it), poke into the back of the horn, sending your needle to the front.
5) Exit on the front, right next to your half orange and through the stitch loop you created in 3.
6) Pull your thread all the way through as you would in a normal blanket stitch.

And that’s it :)
