
How to Cut Perfect Shapes out of Wool Felt - The Freezer Paper Method
/
Welcome!
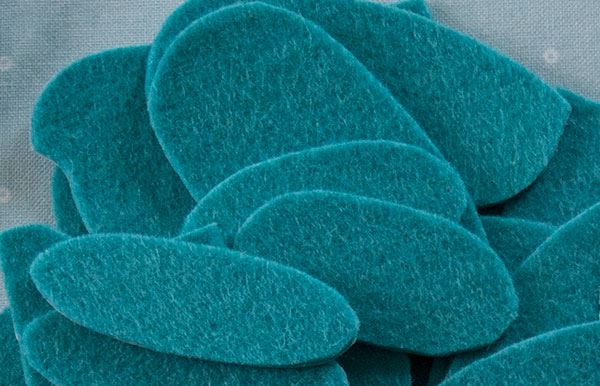
Wool felt is a dreamy textile to sew with but it can be a challenge to cut smooth edges and identical shapes from it. Paper, on the other hand, is very easy to cut into pattern shapes, including smooth curves and sharp angles.
Identical shapes are critical when sewing two pieces of felt together and smooth edges look lovely in appliquéd pieces. We're going to blend the two - felt and paper - using the freezer paper method.
Freezer Paper is a two-sided utility paper that can be found at the grocery store (with the saran wrap, aluminum foil, etc.) DO NOT confuse wax paper for freezer paper; they are not the same. One side of freezer paper is waxy and works to temporarily "fuse" your pattern to the felt when ironed. It will not damage the felt or leave any residue when it is removed. The other side is matte, just like regular paper, allowing you to trace on it.
Let's get started!
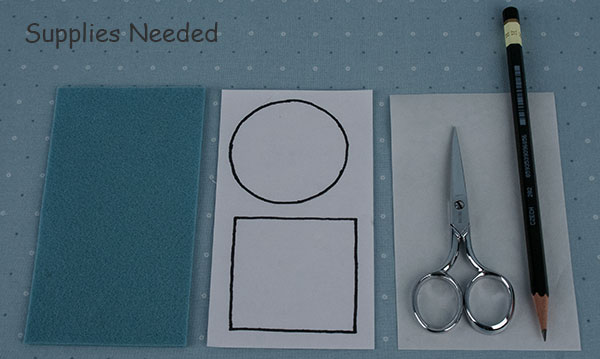
Supplies Needed
Pattern - you can draw any shape(s) onto a piece of paper for a pattern. Keep it simple.
We're using a circle approximately 2" in diameter and a square about the same size. These shapes can be used later in the How to Appliqué Wool Felt series.Wool Felt - a piece large enough to accommodate your pattern pieces
Freezer paper - large enough to trace your pattern pieces onto
Sharp scissors and a pencil
Step 1 - Trace your Pattern
Lay your freezer paper, WAXY SIDE DOWN, on top of your pattern and trace all of the pieces.

Most felt appliqué patterns are laid out with the pieces drawn close together, allowing just enough room to roughly cut between them. This makes it easy to conserve your freezer paper. If they are not close together, move your freezer paper around and trace the pattern pieces next to each other, making sure to leave space between the individual pieces to rough cut around them. Your pattern pieces may also be numbered and color coded. If so, transfer that information to your freezer paper.
Some pattern pieces are directional, meaning they cannot be used on either side. Alphabet letters are perfect examples. Let's say I want to appliqué the letter R for rabbit and my pattern is drawn just like the R. Some say you must reverse the pattern before tracing and ironing freezer paper to your felt. This is true with one-sided fabrics but wool felt is the same on both sides. In my experience, if you are working with quality felt, you will never know freezer paper was ironed to one side or the other and reversing a pattern is not necessary.
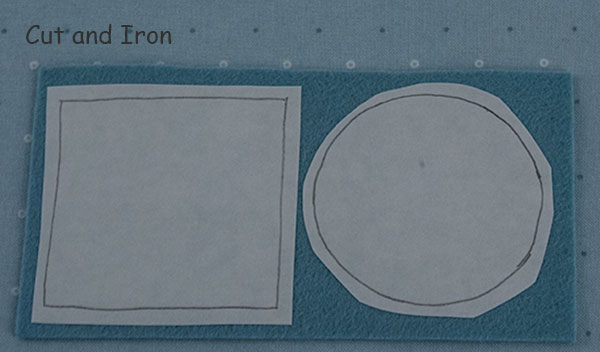
Step 2 - Cut and Iron
You have just made a duplicate of your pattern in Step 1. And now it's on freezer paper. Yay! Save your pattern; you can use it over and over and over again.
Using paper scissors, cut around each shape on your freezer paper about 1/8" - 1/4" away from your tracing. This does not have to be neat. The paper can overlap on your felt as long as the pattern lines do not.
Lay your new freezer paper pattern pieces, roughly cut out, on top of your felt, WAXY SIDE DOWN. Put them close together, leaving just enough space to cut between them. Conserve your felt!
Iron the freezer paper to your felt using a warm/medium iron (no steam) and pressing lightly. Move your iron around over the felt for about two seconds, (one thousand one, one thousand two). That should do it. Check to make sure the paper is adhered to your felt. It should pull away easily but not before you've cut out your pieces. If it is coming right off, give it another press.
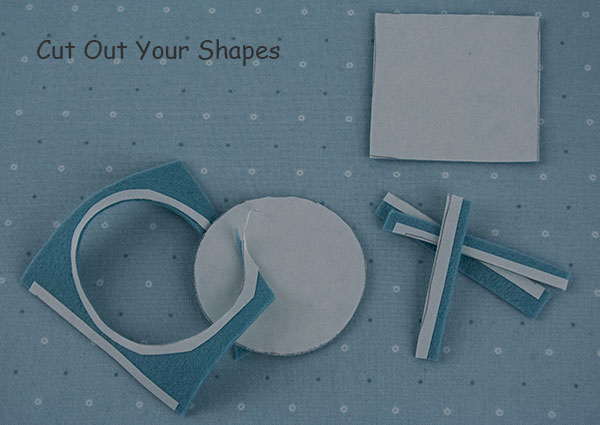
Step 3 - Cut Out Your Shapes
Next, using sharp sewing scissors,* cut out each shape along the traced lines. You will see how easy it is to cut the felt with a paper pattern ironed to it.
*If you're wondering whether to use paper or fabric scissors for this step, use fabric scissors. "But I will be cutting paper; I can't do that with my fabric scissors!" I know. But it is most important that the felt be cut with sharp fabric scissors. I have a special pair just for this purpose. I call them my papric scissors.
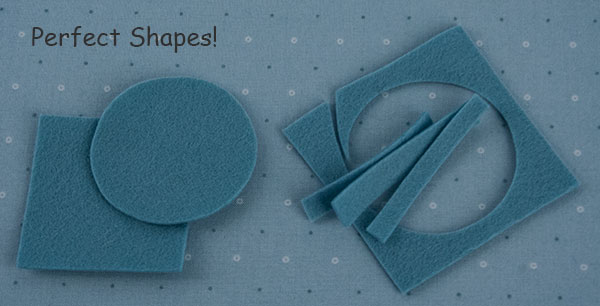
Step 4 - Peel Away
Peel away your paper and, Voila! You have two perfectly cut pieces of wool felt ready to appliqué. Peel away the paper from your scraps, too, and save them. They will come in handy later. Now let's do something with those beautiful shapes.
What's Next?
How To Appliqué Wool Felt - Blanket Stitch - Beginner Lesson 1
