
How to Make a French Knot
/
A French knot is a scary little embroidery stitch that, when mastered, is more fun than milk and cookies. It creates a lovely, tactile, three-dimensional nub on the surface of your felt. French knots are great for making tiny eyes, bunny bumps and textured woolies on sheep ornaments.

Here's how you make one
I'm going to use bright orange Perle cotton on white felt and a larger-than-normal size needle in order to best illustrate the steps involved. French knots can be made with any number of strands of embroidery floss and any where from one to three wraps around your needle. The fewer the strands and wraps, the smaller your knot will be. More strands with more wraps will produce a larger, nubblier knot. Most of the time, I use two strands of floss and one wrap in my work.
Step 1
Do not fear!
Step 2
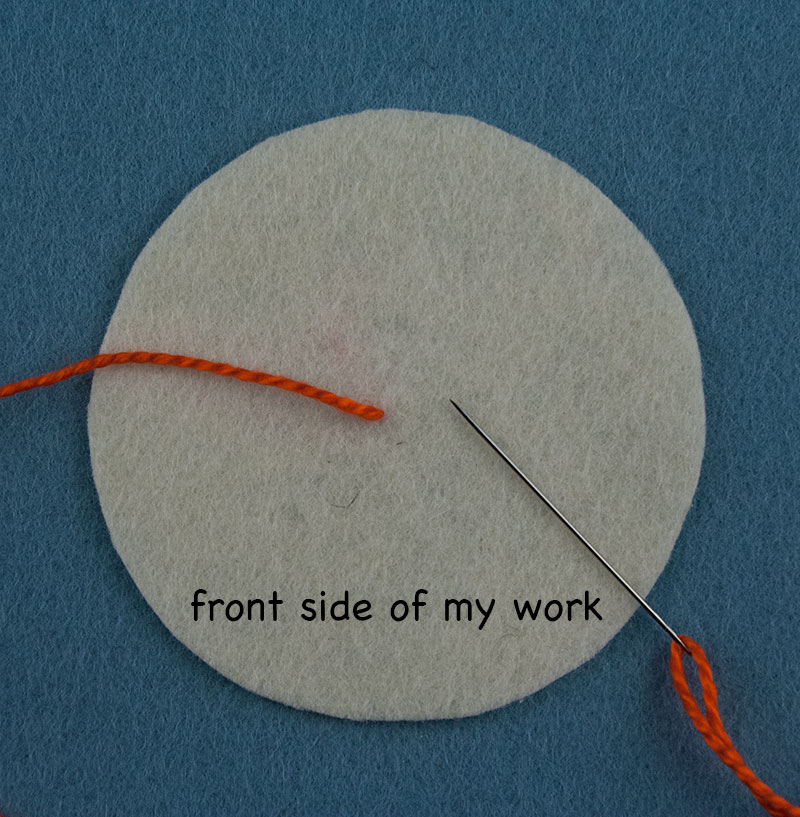
Thread your needle with embroidery floss and tie a knot at one end; this is your "strand knot." On the BACK side of your work, begin about 1/2" away from the point where you want your French knot to be and feed your needle through a skim of felt toward the French knot location. Make sure you cannot see this "skim feed" on the front side of your work. The blue asterisk will be my French knot location.

Step 3
Pull your needle all the way through so your strand knot lies against the felt out of the way. Then, insert your needle on the back side of your work right where you want your French knot to be.

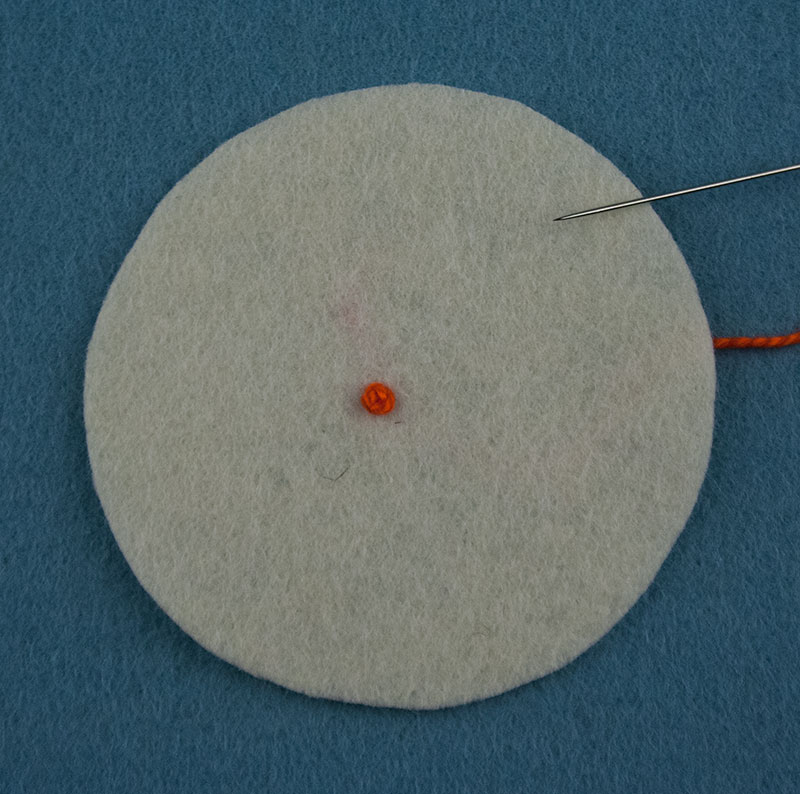
And here it is, pulled all the way through to the front side of my work. I've removed the blue asterisk because by now you know where the French knot is going :)
Step 4
Now, lay your needle sideways and wrap the floss that has just emerged around (as in over and under) the needle near the point. For now, we're just going to do one wrap.

Step 5
This is where it can get tricky if you've never made one of these little suckers. Stand your needle up and point it downward right next to where you came up from the back. Keep the loop of floss wrapped around your needle as you do this. You can literally slide your needle point across the felt to keep the "knot" from slipping off of the point if you need to. You can see below that I have positioned my needle point as close to the floss that came up from the back as is possible without re-entering the same hole. As you do this, maintain tension on your strand of floss at the pink "X" as this will keep your knot snug around your needle while you try to keep it from slipping off the tip.
You're doing great!

Step 6
Send your needle to the back side of your work. Reach around and pull it all the way through until your French knot is snug against the front of your work. You will need to maintain tension on your floss at the "X" as you pull - enough to keep the knot from loosening while its being secured. You will develop how best to maintain this tension with practice.

Getting there . . .

And Voila!
Step 7
Contrary to what you might think, this knot still needs to be "knotted." If you were to just snip your thread on the back, the knot would fall off the front. So, turn your work to the back. Make sure your French knot is snug on the front and make a finish knot into a small "bite" of felt. Make sure you don't bite all the way to the front of your work. Then skim-feed through a bit of felt away from this finish knot and snip your thread. Now you are finished. Yay!!!

Parlez-vous Francais, encore?
Hope you had fun!
